Video Conferencing Setup for Conference Rooms: Step-by-Step Guide
Hayley Spooner, Jun 4, 2025

Key takeaways:
- Learn how to design a professional video conferencing setup.
- Discover best practices for meeting room tech installation.
- Understand the essential components needed for seamless hybrid collaboration.
- Explore how Neat video meeting devices can enhance your meetings.
In today’s fast-evolving hybrid work environment, an effective video conferencing setup is more than a convenience – it’s a necessity. From global enterprises to local businesses, having a reliable and professional conference room setup can significantly enhance communication, productivity, and client engagement. This comprehensive guide walks you through the step-by-step process of creating a top-tier video conferencing environment, ensuring your technology supports rather than hinders your goals.
Step 1: Define the room purpose and size
Before investing in technology, it’s crucial to determine the purpose of the conference room and its size. Whether it is designed for small team huddles, mid-size meetings, or large presentations, the answer will inform the type of audio-visual equipment and furniture required. Huddle rooms for two to five people may only need a small display, a wide-angle camera, and basic audio gear. Mid-size rooms hosting six to 12 participants benefit from multiple microphones and a central display for visibility and clarity. In contrast, large rooms accommodating more than 12 people require sophisticated acoustic management, multiple screens, and advanced camera systems. Understanding the room’s usage also guides ergonomic furniture layout, acoustic optimization, and the practical placement of equipment.
Step 2: Choose the right video conferencing platform
The choice of software dictates hardware compatibility and user experience. Platforms like Zoom, Microsoft Teams, and Google Meet dominate the market, each with their strengths. Integration with your organization’s existing workflow is essential. Neat video collaboration devices are fully certified for Zoom, Microsoft Teams, and Google Meet, offering a seamless plug-and-play experience that reduces technical setup headaches and speeds up deployment.
Step 3: Select video and audio equipment
The cornerstone of an excellent video conferencing setup is high-quality video and audio. Camera selection should focus on at least 1080p resolution, with 4K cameras recommended for larger spaces to ensure clarity. Wide-angle lenses are ideal for small rooms, while Pan-Tilt-Zoom (PTZ) cameras provide flexibility in larger spaces. Audio should be crisp and consistent throughout the room. Omnidirectional microphones help capture voices from any direction, and larger rooms may benefit from ceiling or table microphones for comprehensive coverage. Look for features such as acoustic echo cancellation and noise suppression to enhance audio quality. Neat devices roll everything you need for video conferencing into one devices, integrating directional microphones and intelligent framing cameras that adjust dynamically to speaker positions – significantly easing the meeting room tech installation process.
Step 4: Install display and connectivity infrastructure
A clear, high-resolution display is critical for sharing presentations, video feeds, and collaborative documents. Depending on room size, one or more displays may be necessary. Wall-mounted screens create a clean look, while mobile carts offer flexibility. Connectivity should include HDMI ports, wireless presentation solutions, and possibly USB-C support. A robust internet connection – preferably via wired Ethernet – is vital to avoid latency and ensure smooth streaming. Installing cable extenders and switchers can simplify transitions between various input sources, maintaining a professional meeting flow.
Step 5: Consider room acoustics and lighting
Poor acoustics and lighting can sabotage meeting quality. Acoustic enhancements like sound-absorbing panels, thick carpets, and cushioned furniture help to minimize echo and background noise. Avoid harsh overhead fluorescents and instead use diffused LED lighting to provide an even, flattering illumination. Natural light should be managed with blinds or curtains to reduce glare. Neat devices come equipped with smart sensors that adapt to changing room conditions, fine-tuning both audio and video to suit the environment.
Step 6: Cable management and power setup
Effective cable management not only ensures a clean and professional look but also prevents accidents and equipment damage. Use under-desk cable trays, floor raceways, and wall clips to secure cords. Power distribution should be organized with surge-protected power strips and strategically placed outlets. Incorporate Uninterruptible Power Supplies (UPS) for mission-critical devices to maintain functionality during power fluctuations. Label all connections clearly and keep documentation for future reference and troubleshooting.
Step 7: Implement control systems and scheduling tools
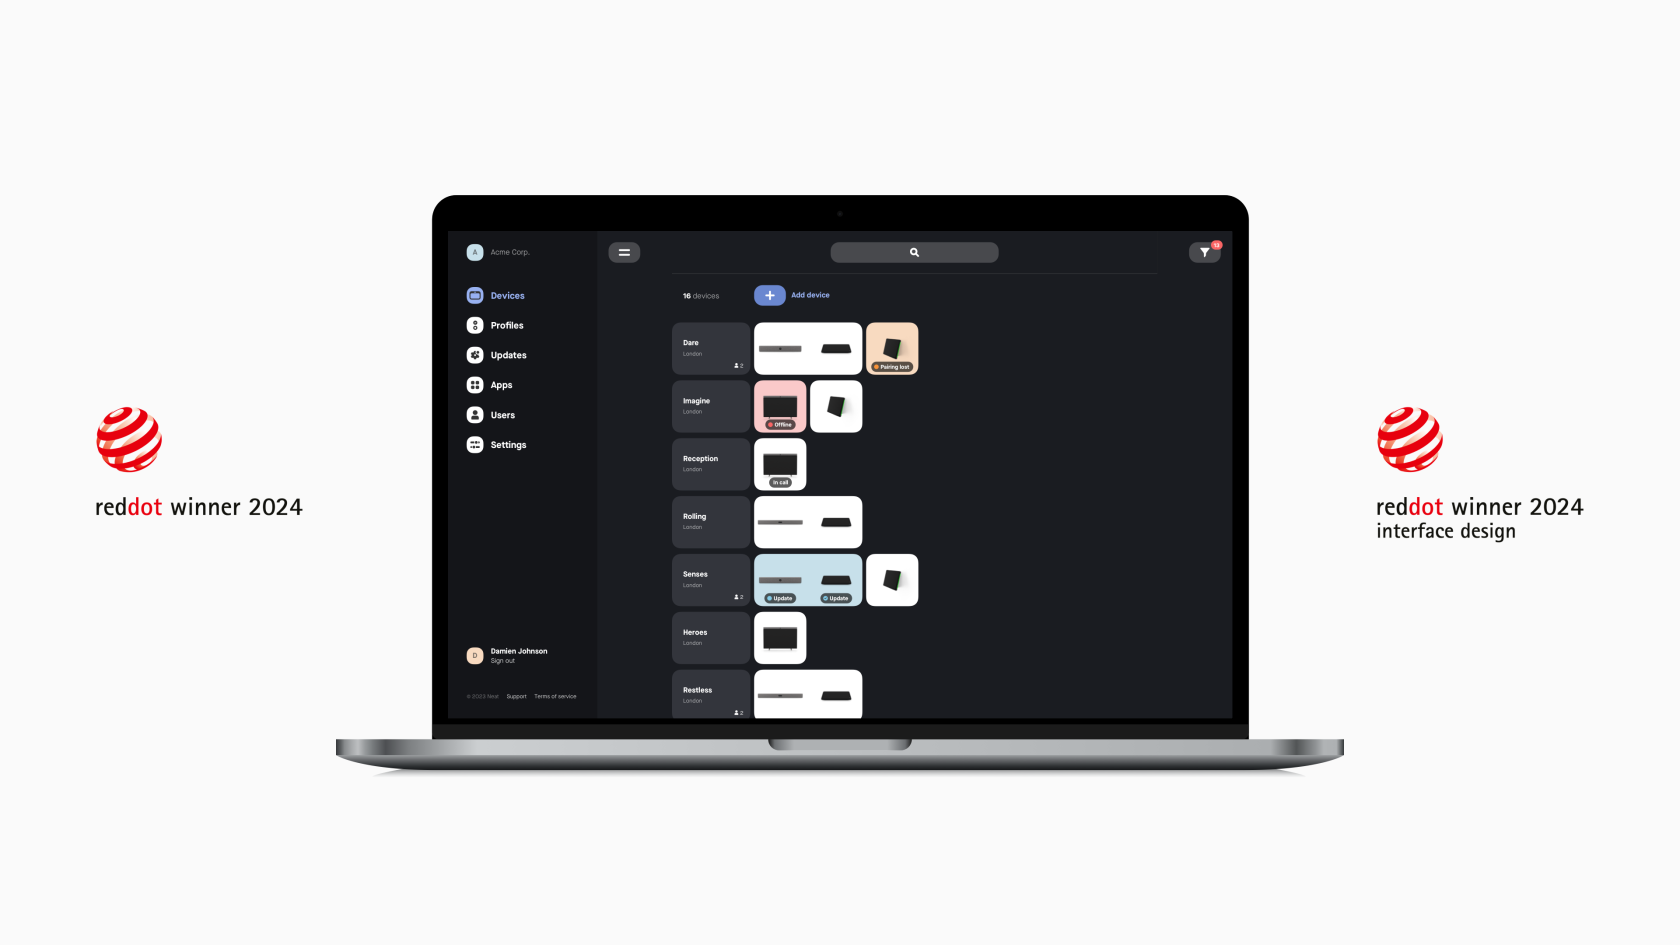
To streamline user interaction with the room’s technology, install touch panels or tablets that can manage meetings, adjust settings, and schedule future use. These control systems should be intuitive and support quick access to conferencing platforms. Integrating them with calendar systems like Office 365 or Google Workspace simplifies scheduling. Neat’s cloud-based device management platform, Neat Pulse, supports remote management features, enabling IT teams to troubleshoot and update devices centrally.
Step 8: Test and train
Before launching the newly equipped space for official use, thorough testing is imperative. Simulate different meeting scenarios to detect technical flaws and confirm that all components are working in sync. Staff training should be comprehensive yet accessible, equipping users with the knowledge to confidently operate the room’s systems. Offering a quick-reference guide or cheat sheet within the room helps visiting or less experienced users navigate the setup efficiently.
Alternatively, opt for video meeting devices that are simple and intuitive to use, so that zero training is required – like Neat devices.
Step 9: Plan for scalability and support
Technology investments should be future-proof. Opt for systems that offer modular upgrades and software flexibility. As your organization evolves, your video conferencing setup must accommodate more users, additional rooms, or newer platforms. Choose vendors who provide reliable technical support, regular software updates, and long-term warranties. Neat’s conference room set-ups are scalable and come with robust management tools, making it a smart choice for organizations looking to expand their meeting capabilities.
Conclusion: Innovative tech will future-proof your conference room
Investing in a professional conference room setup isn’t just about the tech – it’s about enabling effective, engaging collaboration across teams and time zones. With careful planning and the right equipment you can transform your meeting spaces into hubs of productivity and connection.
Why not book a demo and experience Neat devices for yourself?
Sources: