Video Conference Room Setup: A Complete Guide
Neat, Jun 20, 2022
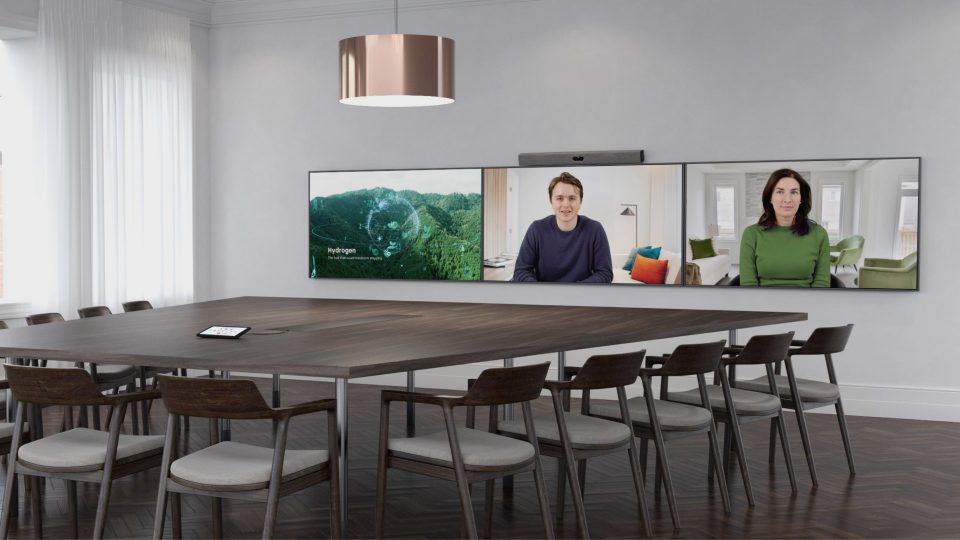
Video conferencing has earned a permanent spot in the workplace. Studies show that 45% of teams are using video conferencing on a daily or weekly basis. It’s time for companies to explore how to set up video conferencing for all types of workers and use cases. Here’s how to configure a video conference room setup that works for your organization.
Key Takeaways
- Physical space size and materials will impact your equipment options.
- You don’t need much to set up a video conference room: monitors, camera, microphone and speakers—or multi-functionality devices that do it all.
- Consider the learning curve when choosing your video conferencing equipment.
- Choose, install and test your video conferencing equipment to fine-tune the experience – or choose devices that work straight out the box.
- Consider the nuances between setting up a home video conference room vs. a video conference room in the workplace.
Explore Your Physical Conferencing Space
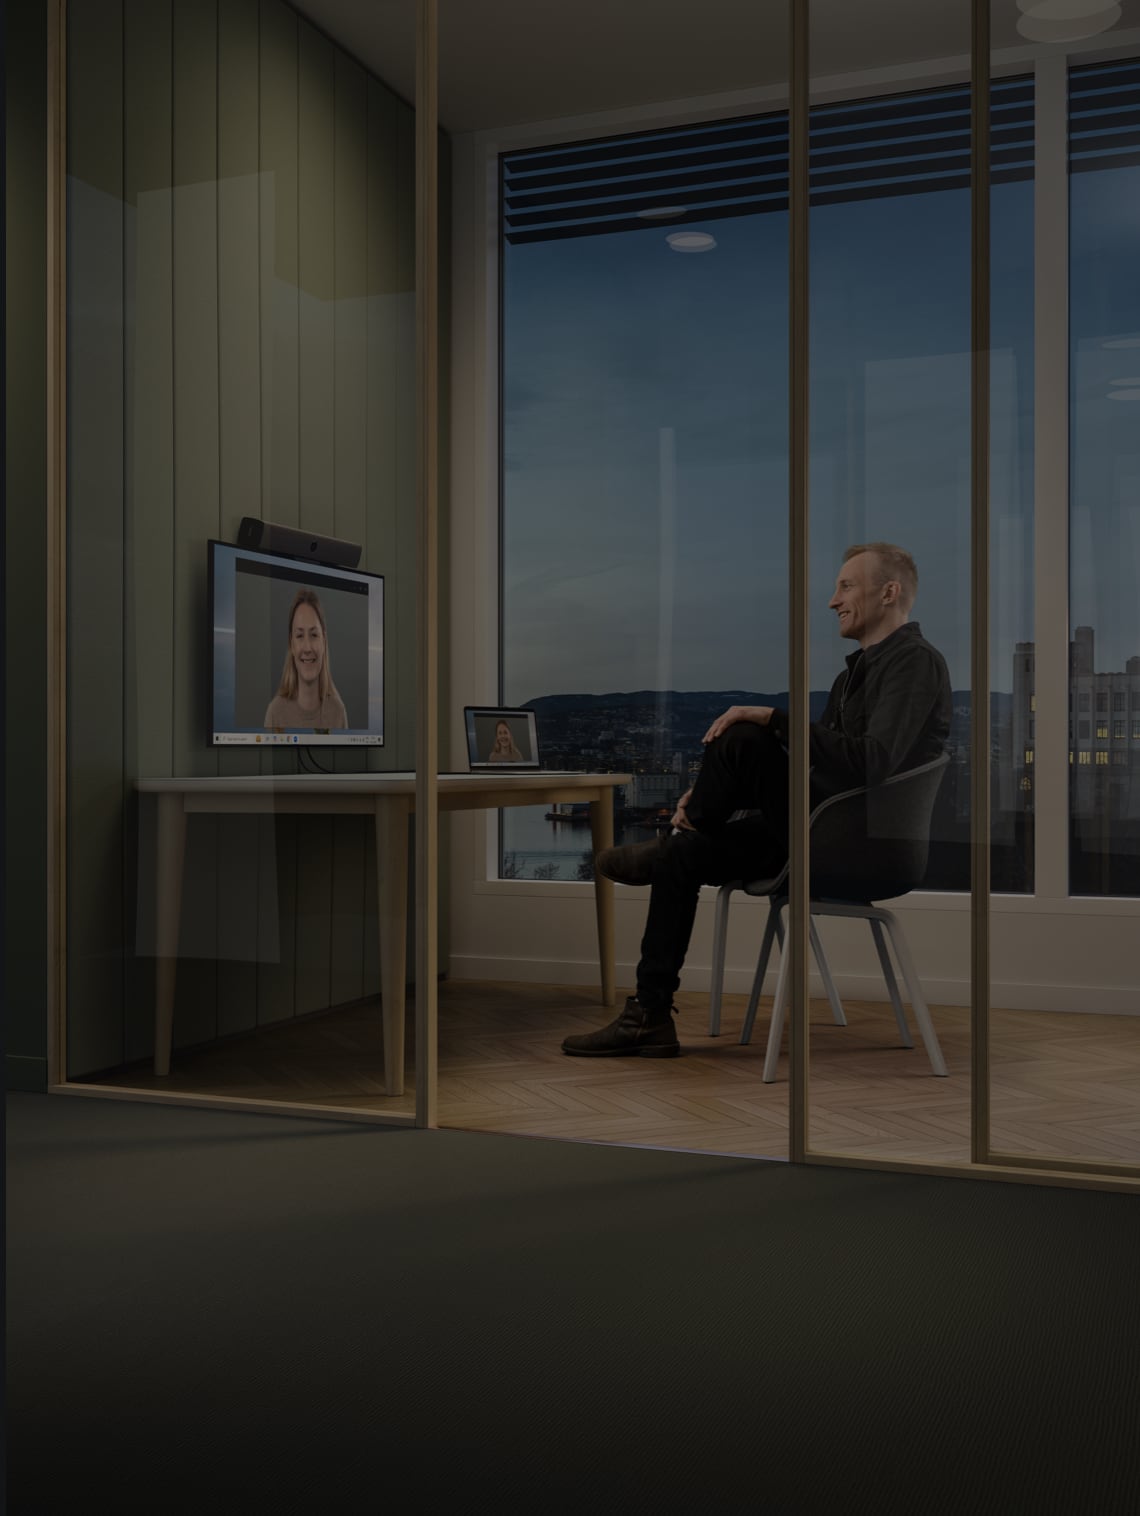
Companies use video conferencing in a variety of settings—single-person offices, small team huddle rooms, spacious board rooms, remote work setups and open offices, for example. Each of these spaces offers unique dynamics that can impact the sound and image quality on both sides of the video call.
For example, a board room with lots of natural light might limit where you can place a video conferencing screen to reduce glare. A home office won’t need a hardwired monitor and would benefit from a device that includes a portable monitor, speakers and microphone in one. Smaller spaces will require smaller monitors, while larger spaces may need stronger microphones and bigger speakers or soundbars so that everyone – and every little detail – can be heard.
There’s also the matter of what’s in the room. Hard surfaces allow sound to bounce, which may create additional noise or echoes. Carpeted floors and curtains help to minimize noise and improve the sound quality.
Knowing how each space will be used for video conferencing allows you to focus on options that suit those use cases.
The 4 Things You Need to Set Up Your Video Conference Room
It doesn’t take much for video call setup once you figure out the physical logistics. All you really need is a monitor, camera, microphone and speakers. And sometimes, you’ll get all of these things in a single device.
- Monitors
- Camera
- Microphone
- Speakers
Monitors
The size of your monitor screen should match the size of the room. Larger rooms that will likely have more attendees will require larger screens or multiple displays. For focus rooms or home offices, a laptop-sized screen works well for one person.
Also, take into account the mounting height of the monitor. When done right, mounting height can give the same feel as in-person eye contact. Mounting height isn’t a concern for wireless technology since you can move devices around to suit your environment. But for wired solutions, you’ll want the person you’re chatting with to feel like you’re looking at them.
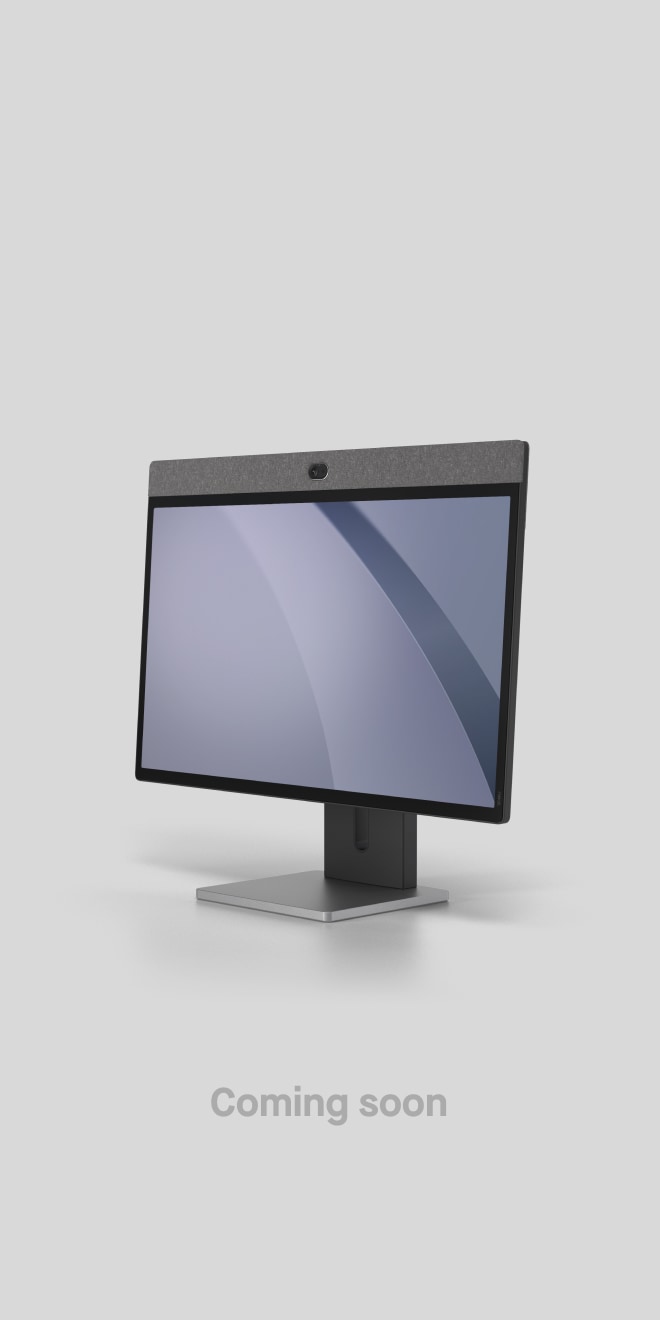
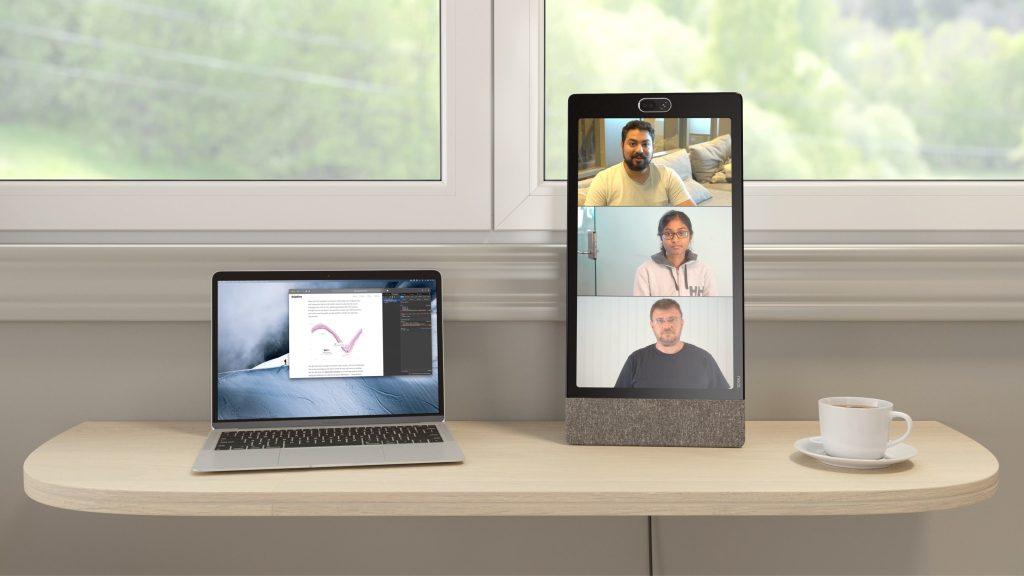
For smaller video conference room setups, Neat Frame offers a more lifelike experience compared to a laptop. Users can hold eye-to-eye conversations on a portrait screen, gain a clearer look at facial expressions, and enjoy a more personal look and feel.
Camera
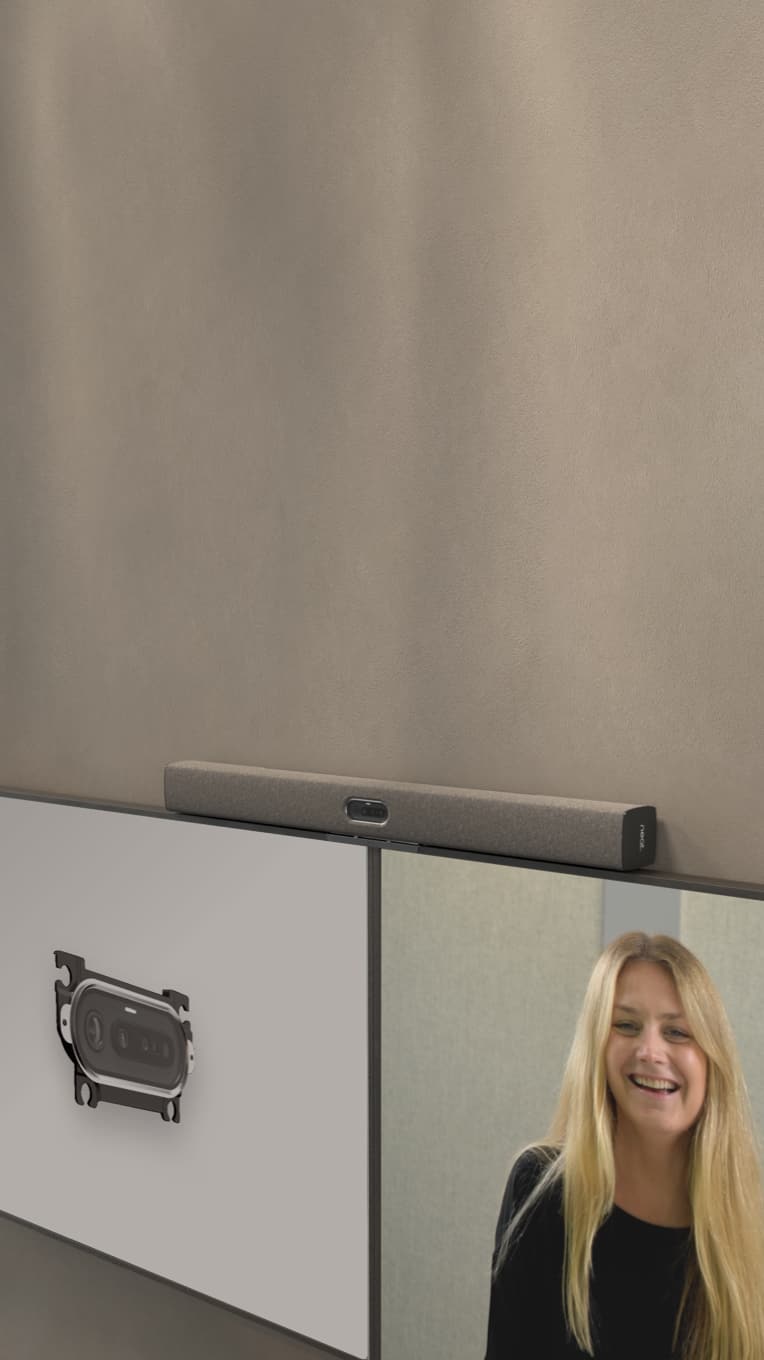
Cameras and monitors work together to recreate that in-person vibe via teleconference. This might be a camera that’s integrated into your video conferencing device, like Neat Board. Or, it might be a separate camera, built-in to your soundbar, that attaches to your monitor, like Neat Bar and Neat Bar Pro.
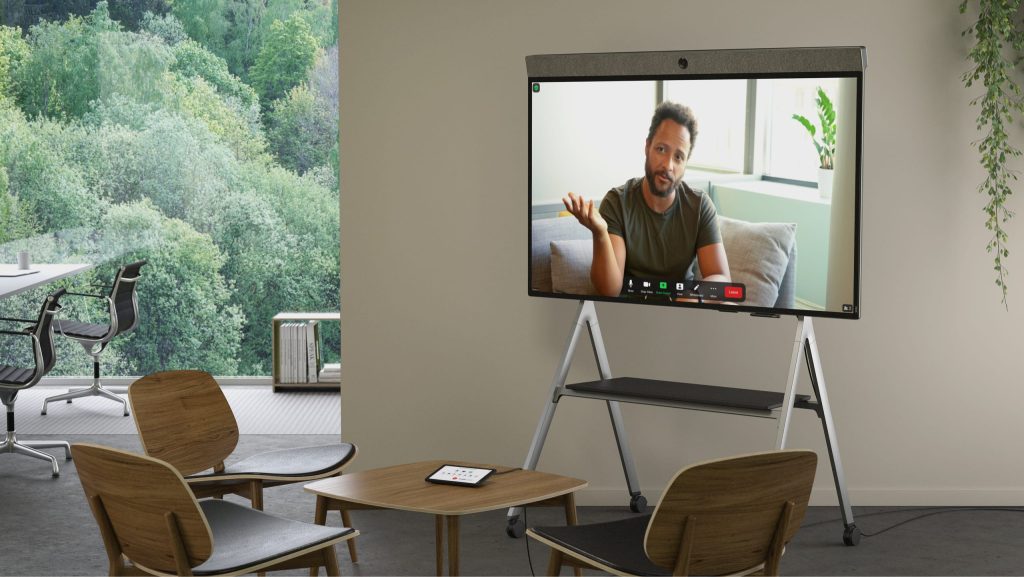
Depending on the size of your video conference room, you may want to explore a wide-angle camera lens that will capture the entire room. Small focus rooms and home offices may find favor with all-in-one devices that integrate the camera with the monitor.
Microphone & Speakers
Your video conference setup needs a microphone and speakers to allow for two-way sound. These might be stationed on the table or mounted near the video display. Larger rooms will require powerful mics to pick up sound from anywhere in the room. You might also need multiple microphones for larger conference rooms or if you have multiple displays.
You can purchase each of these components separately. Or, a single device can check off several boxes at once, which is a more cost efficient way forward. Neat Bar, for example, combines a powerful camera with a 5-mic array and easily snaps on to the top or bottom of a display.
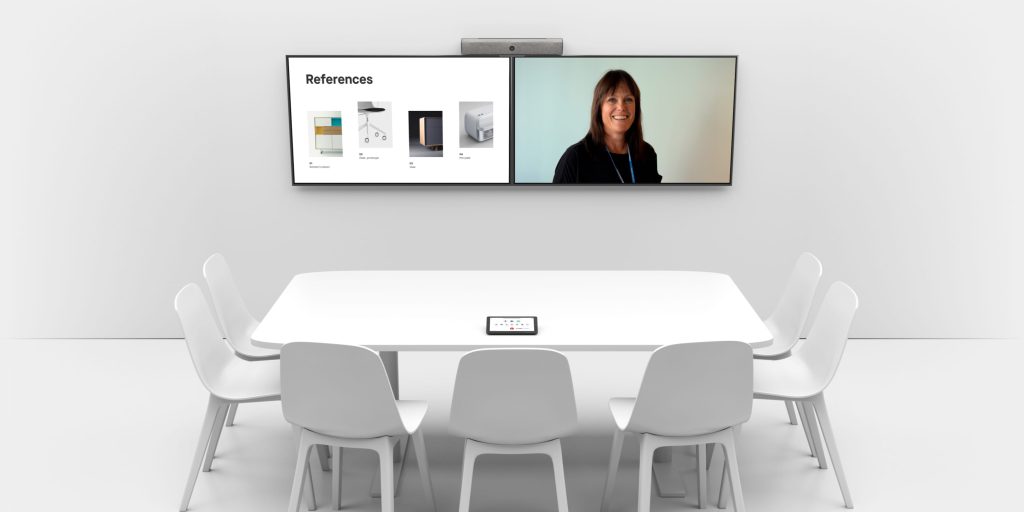
When choosing your video conferencing equipment, one thing you’ll want to consider is the learning curve. Some devices and technology require professional installation, while others can be up and running quickly and easily by all of your end-users. Neat solutions are designed for easy, fool-proof installation and ongoing user-friendliness.
Setting Up Your Video Conference System
Once you understand your video conference room setup needs, it’s time to start combining equipment with your physical space. This process can vary depending on whether you’re setting up a space at home or in the workplace.
For home video conferencing, wireless setups are usually best since the user probably works remotely often. Wireless equipment allows the user to video conference however and wherever it feels comfortable, even when they’re on the go.
Setting up a video conference room in a workplace gives you more flexibility in terms of equipment. You can choose between wired or wireless devices and various display sizes, depending on whether you’re using small huddle rooms, large board rooms or something in between. Here’s how to get started:
1. Choose and install your video conferencing equipment
For home office and remote setups, Neat Frame and Neat Pad are small enough to fit on a desk and light enough to be transported to wherever you’re working. They rely on a wireless connection and integrate the screen, camera, microphone and speakers into a single unit. These also work well for individual offices and focus rooms where employees work on-site.
For shared workplaces, such as an open office layout or designated conference room, you have more options to explore. Neat Board with a mobile floor stand offers an all-in-one flexible solution that you can bring into different spaces within your organization. It integrates the camera, speakers, microphone and display, allowing you to set up a video conference on the fly. You can also hardwire it into a room where it’ll always be ready for use.
Or, if you’re piecing together your own solution, you’ll need to install your displays, microphones, speakers and cameras and get them ready for testing.
2. Set up your video conferencing platform
Neat solutions support Zoom and Microsoft Teams. Depending on your desired platform, you can set up your account on your Neat device so it’s ready for your first video meeting. All of Neat’s devices can be easily set up by one person right out of the box with no IT experience required.
If you’re using your video conference equipment in spaces that will be shared by teams, make sure everyone’s trained on how to log into the platform and schedule or participate in meetings.
3. Test your video conferencing setup under a variety of conditions
It’s best practice to test your equipment before you need to interface with a client or colleague, whether it’s a workplace video conference setup or a home video conferencing setup.
To do this, send a test meeting link to someone and hold a meeting to see what your camera’s angle looks like. For home setups, check the sound quality and see whether you might need to adjust your webcam settings. Try out the screen sharing features to make sure they work and you feel confident in using them. Then make adjustments as needed.
For testing your workplace setup, you’ll want to hold a video conference under a variety of conditions. Try a conference with just one person in the meeting room, then bring in more people to see how it affects the sound and visuals. Hold video meetings at different times of the day to see how the lighting of the room changes and whether your equipment is in a good location.
If you’re using a solution like Neat Board, experiment in different spaces to see how your equipment works under various conditions. This is a great chance to adjust heights, test sound, and find your strongest connectivity to ensure the highest quality video calls.
Achieving the Perfect Video Call Setup
Upgrading your video conference room setup enables better productivity, collaboration and connection. But the range of nuances between various physical spaces and who will be using them can sometimes create more questions than answers.
While traditional video conferencing solutions require expert help, Neat solutions can be set up by anyone because they are purpose-built to be simple. We make it easy to remove the guesswork from the equation and move forward with intuitive solutions.
Speak with a Neat expert today, and let’s curate a video conference room setup that works for you.
References
How to Set Up Video Conferencing for Any Conference Room in 3 Easy Steps. Lifesize.
The Essential Conference Room Setup Guide. Jones IT.
Ultimate Guide On How To Set Up A Zoom Conference Room. Shure.


